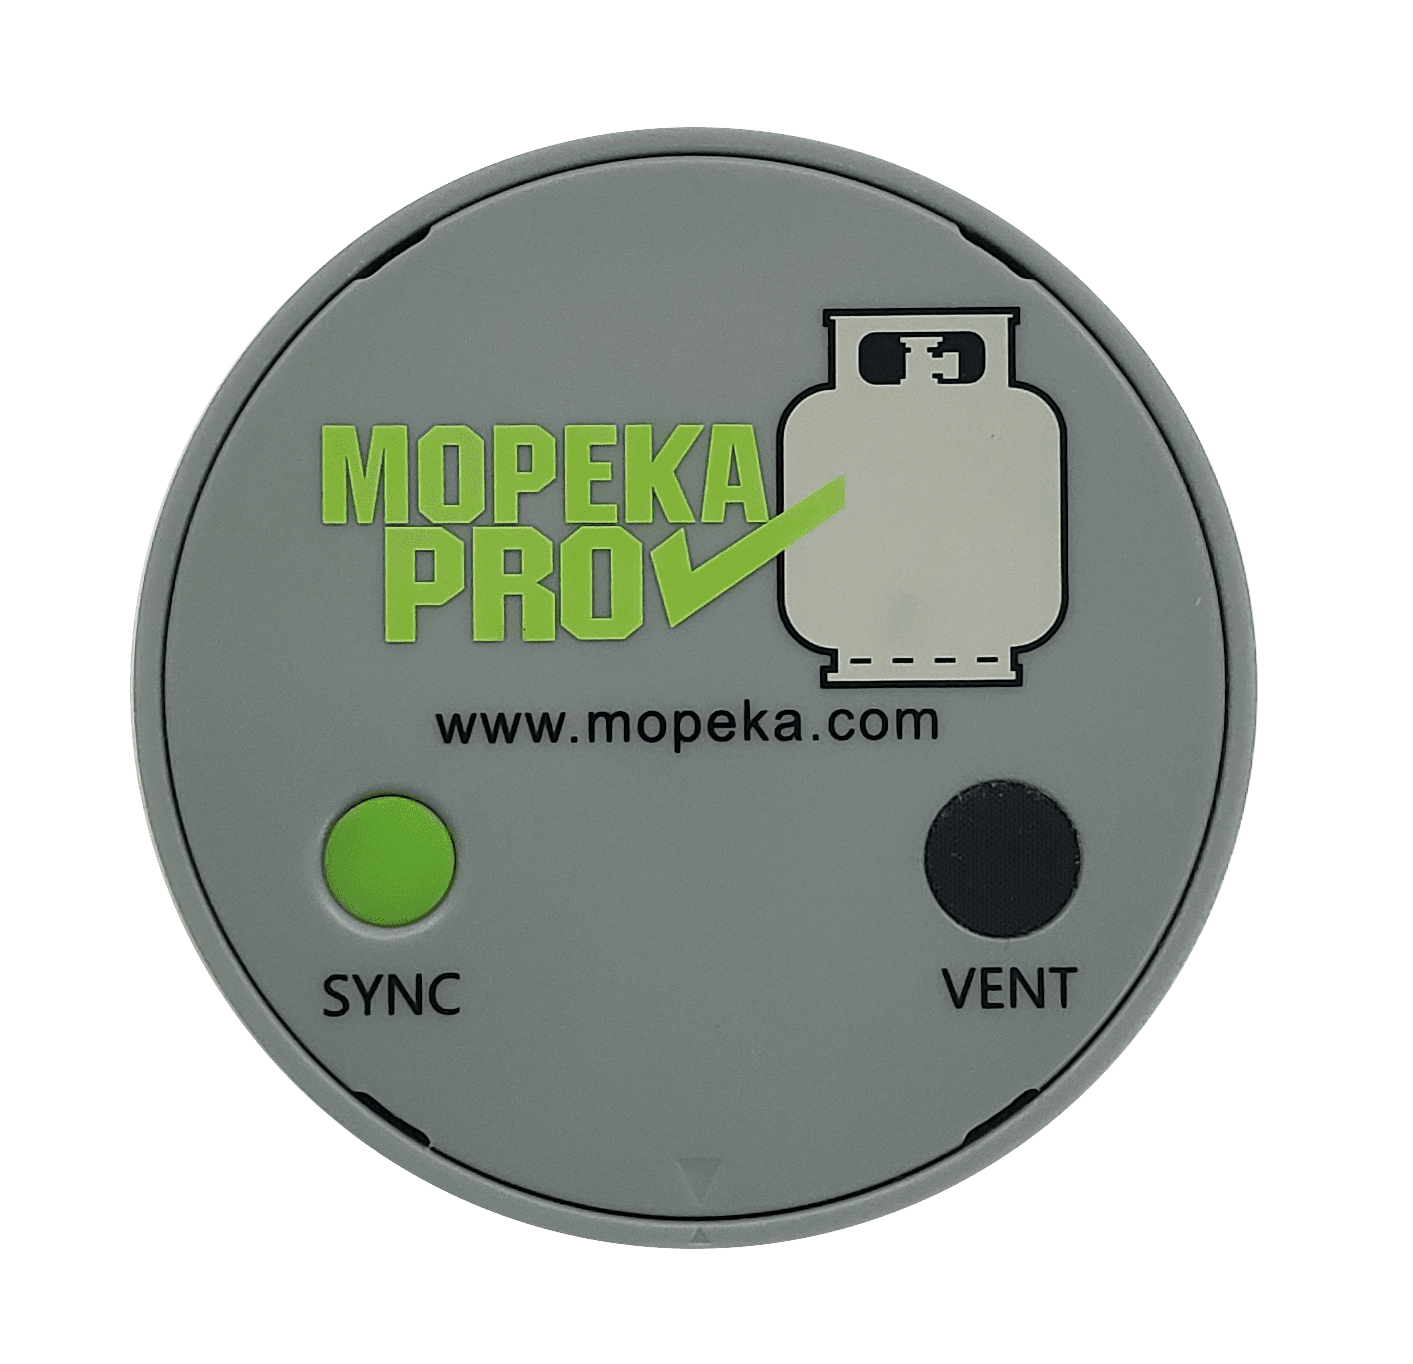
Mopeka Sensor
Home Assistant Integration
- Name: Mopeka
- Type: Official Integration
Supported devices
The Mopeka sensors can be used to monitor your propane tank(s), Fresh Tank, Grey Tank, and yes even your black tank. We can use the Mopeka Tank mobile application to setup the device initially, and get accurate readings while near your RV.
Home Assistant
These sensors read over bluetooth, so you will need to already have a bluetooth solution installed with Home Assistant. Once setup, any Mopeka sensor in the area will show up in your Home Assistant notifications, and at the top of your Devices list.
Adding these devices is as simple as just two clicks and then you will have a few new sensors availible to you in Home Assistant.
We can use the Tank Level sensor to create a few additional sensors to get to some more friendly information. For example, the Pro H2O sensor on my fresh tank gives me thesensor.water_tank_fresh_tank_level which outputs a value in inches. We can use that sensor to calculate tank percentage, gallons, and weight sensors.
Calculating Tank Percentage
We can use this sensor to calculate a Tank Percentage.
- Navigate to Settings in Home Assistant
- Select Devices & Services
- Select Helpers in the top navigation
- Select + Create Helper in the bottom right
- Choose Template in the list of options
- Then choose Template a sensor in the list of additional options
- Name your Sensor, for example “Fresh Tank Percentage”
- Unit of Measure select “%”
- State class select “Total”
Then, in State Template paste the following
1
2
3
4
5
6
7
{% set level = states('sensor.water_tank_fresh_tank_level') | float %} #Update with your tank sensor
{% set tank_depth = 6.0 %} #Tank inches deep
{% if tank_depth > 0 %}
  {{ (level / tank_depth) * 100 }}
{% else %}
  0
{% endif %}
- Replace “sensor.water_tank_fresh_tank_level” with your tank sensor name
- Make sure that “set tank_depth = 6.0” is the correct tank depth, or height of your physical device. Where 6.0 = the inches from the bottom of your tank where the sensor is located, to the top of the tank.
You can modify the “set tank_depth” value to get a more accurate sensor reading in Home Assistant.
Calculating Gallons
We can use this sensor to calculate an estimated amount of gallons in the Tank.
- Navigate to Settings in Home Assistant
- Select Devices & Services
- Select Helpers in the top navigation
- Select + Create Helper in the bottom right
- Choose Template in the list of options
- Then choose Template a sensor in the list of additional options
- Name your Sensor, for example “Fresh Tank Gallons”
Then, in State Template paste the following
1
2
3
4
5
6
7
8
 {% set level = states('sensor.water_tank_fresh_tank_level') | float %}
 {% set tank_depth = 6.0 %}
 {% set tank_capacity = 39.0 %}
 {% if tank_depth > 0 %}
   {{ (level / tank_depth) * tank_capacity }}
 {% else %}
   0
 {% endif %}
- Replace “sensor.water_tank_fresh_tank_level” with your tank sensor name
- Make sure that “set tank_depth = 6.0” is the correct tank depth, or height of your physical device. Where 6.0 = the inches from the bottom of your tank where the sensor is located, to the top of the tank.
Calculating Weight
We can use this sensor to calculate an estimated amount of liquid weight in the Tank.
- Navigate to Settings in Home Assistant
- Select Devices & Services
- Select Helpers in the top navigation
- Select + Create Helper in the bottom right
- Choose Template in the list of options
- Then choose Template a sensor in the list of additional options
- Name your Sensor, for example “Fresh Tank Gallons”
Then, in State Template paste the following
1
2
3
4
5
6
7
8
9
10
 {% set level = states('sensor.water_tank_fresh_tank_level') | float %}
 {% set tank_depth = 6.0 %}
 {% set tank_capacity = 39.0 %}
 {% set water_weight_per_gallon = 8.34 %}
 {% if tank_depth > 0 %}
   {% set gallons = (level / tank_depth) * tank_capacity %}
   {{ gallons * water_weight_per_gallon }}
 {% else %}
   0
 {% endif %}
- Replace “sensor.water_tank_fresh_tank_level” with your tank sensor name
- Make sure that “set tank_depth = 6.0” is the correct tank depth, or height of your physical device. Where 6.0 = the inches from the bottom of your tank where the sensor is located, to the top of the tank.
Temp Readings
Each Mopeka sensor provides a temperature sensor like sensor.water_tank_fresh_temperature which we can use to get a reading of the ambient temperature in the RV’s underbelly. For example, I create a group sensor that contains all of the Mopeka tank sensors in the underbelly of my RV to keep an eye on the cold nights in the RV.
This is helpful to automate things like a notificaiton that its too cold in your underbelly. I use this to automate the switch to my tank warmers just in case I am unaware that the feel like temp might get close to freezing at night. wMost people would say if you need an automation for your tank warmers, your RV is in the wrong place. The would be rgiht, but its happened to me!